

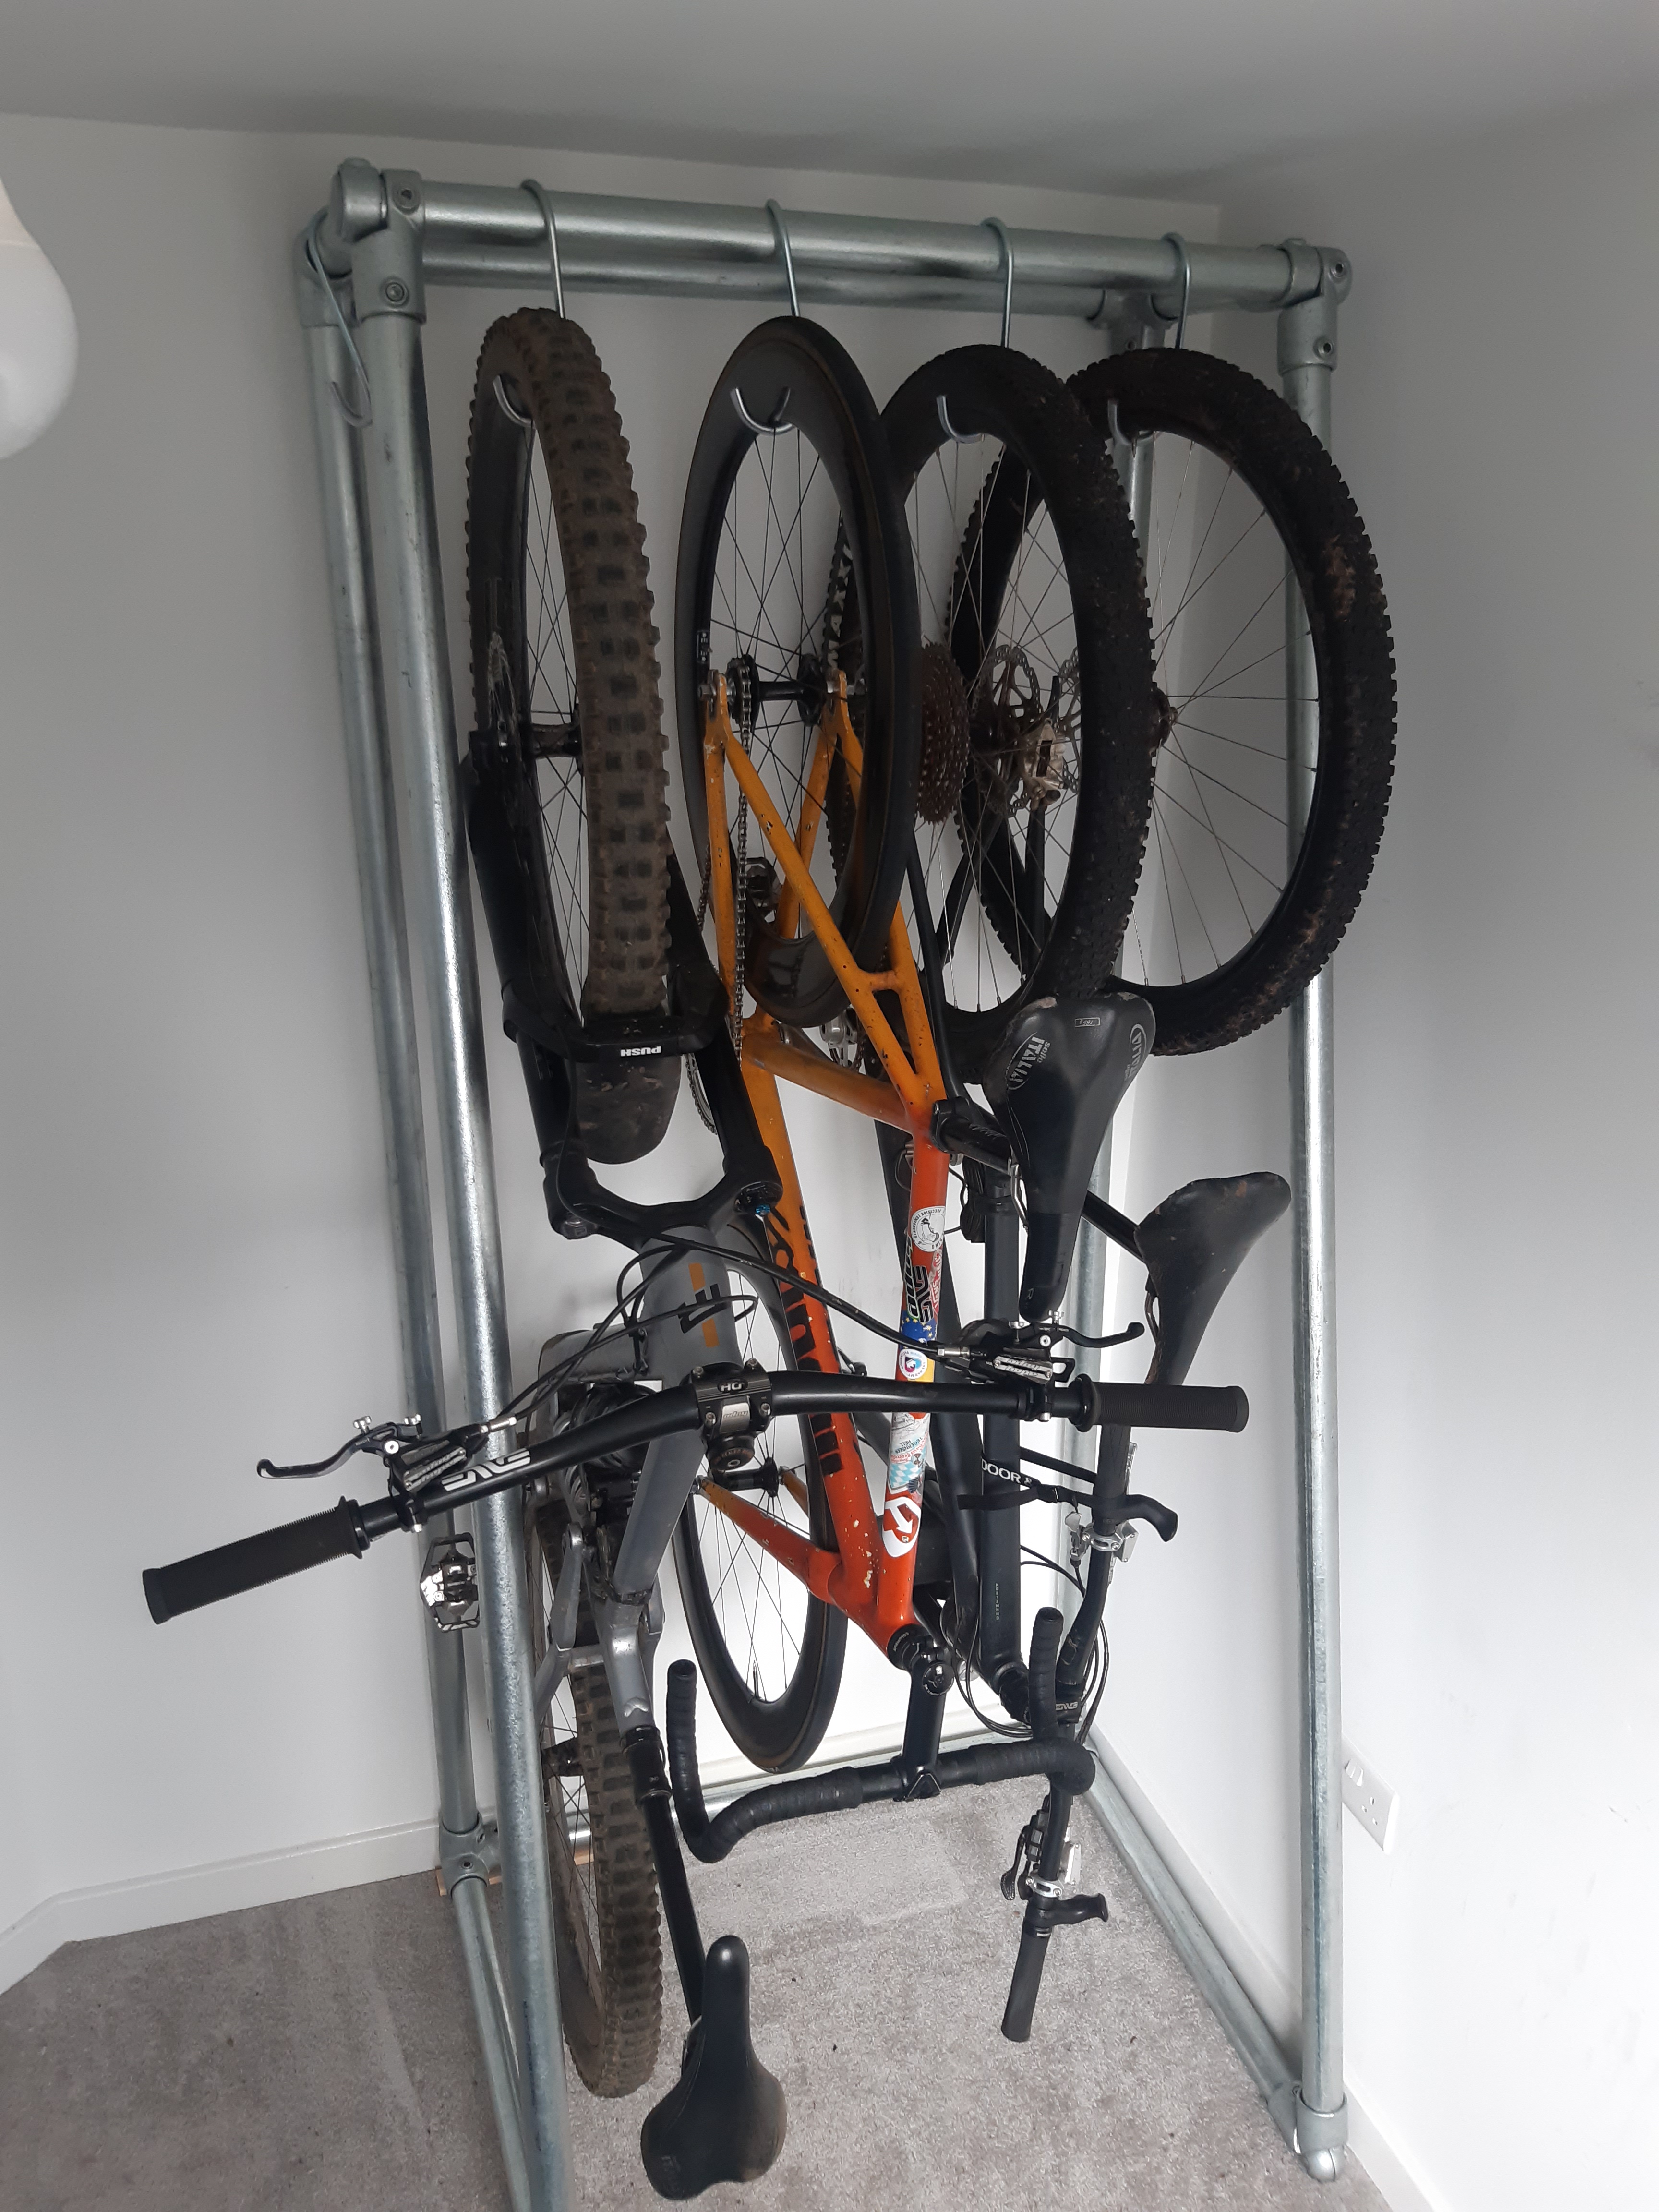
Most off the peg bike storage solutions have some pretty big drawbacks. They don’t tend to be hugely versatile or space efficient, and can be quite expensive. On moving house last year I set out to put together the best free standing bike storage solution possible. Why free standing? We’ve got plasterboard walls, and realistically this rack has no weight limit. big Enduro bikes and E bikes? no worries. it’s also easy to move, adapt, and take down without leaving loads of holes in your walls.


Benefits of this rack:
- No bike(s) too heavy.
- No tyres too big. *alternate hooks may need to be found for fat bikes*
- Works with racks/mudguards etc.
- can hang a bike with no wheels, or wheels/accessories with no bike. perfect if you share wheels across bikes.
- can be easily made to suit your exact space requirements.
- quick and easy assembly.
To make this storage rack we have used Key Clamps and hand rail tubing. Below is a list of what you’ll need:
- 1500mm (x3) – these are the horizontal tubes, and will dictate the width of your rack
- 2100mm (x4) – these are the four uprights. the angle of the front isnt sufficent enough for a different length to be needed.
- 400mm (x2) – Top tubes
- 800mm (x2) – Bottom tubes
- 3 Way 90 Degree Elbow Corner 48mm (x4)
- Inline Swivel Tee 48mm (x4)
- Adjustable 48mm Elbow (2)
- Plastic End Cap 48mm (2)
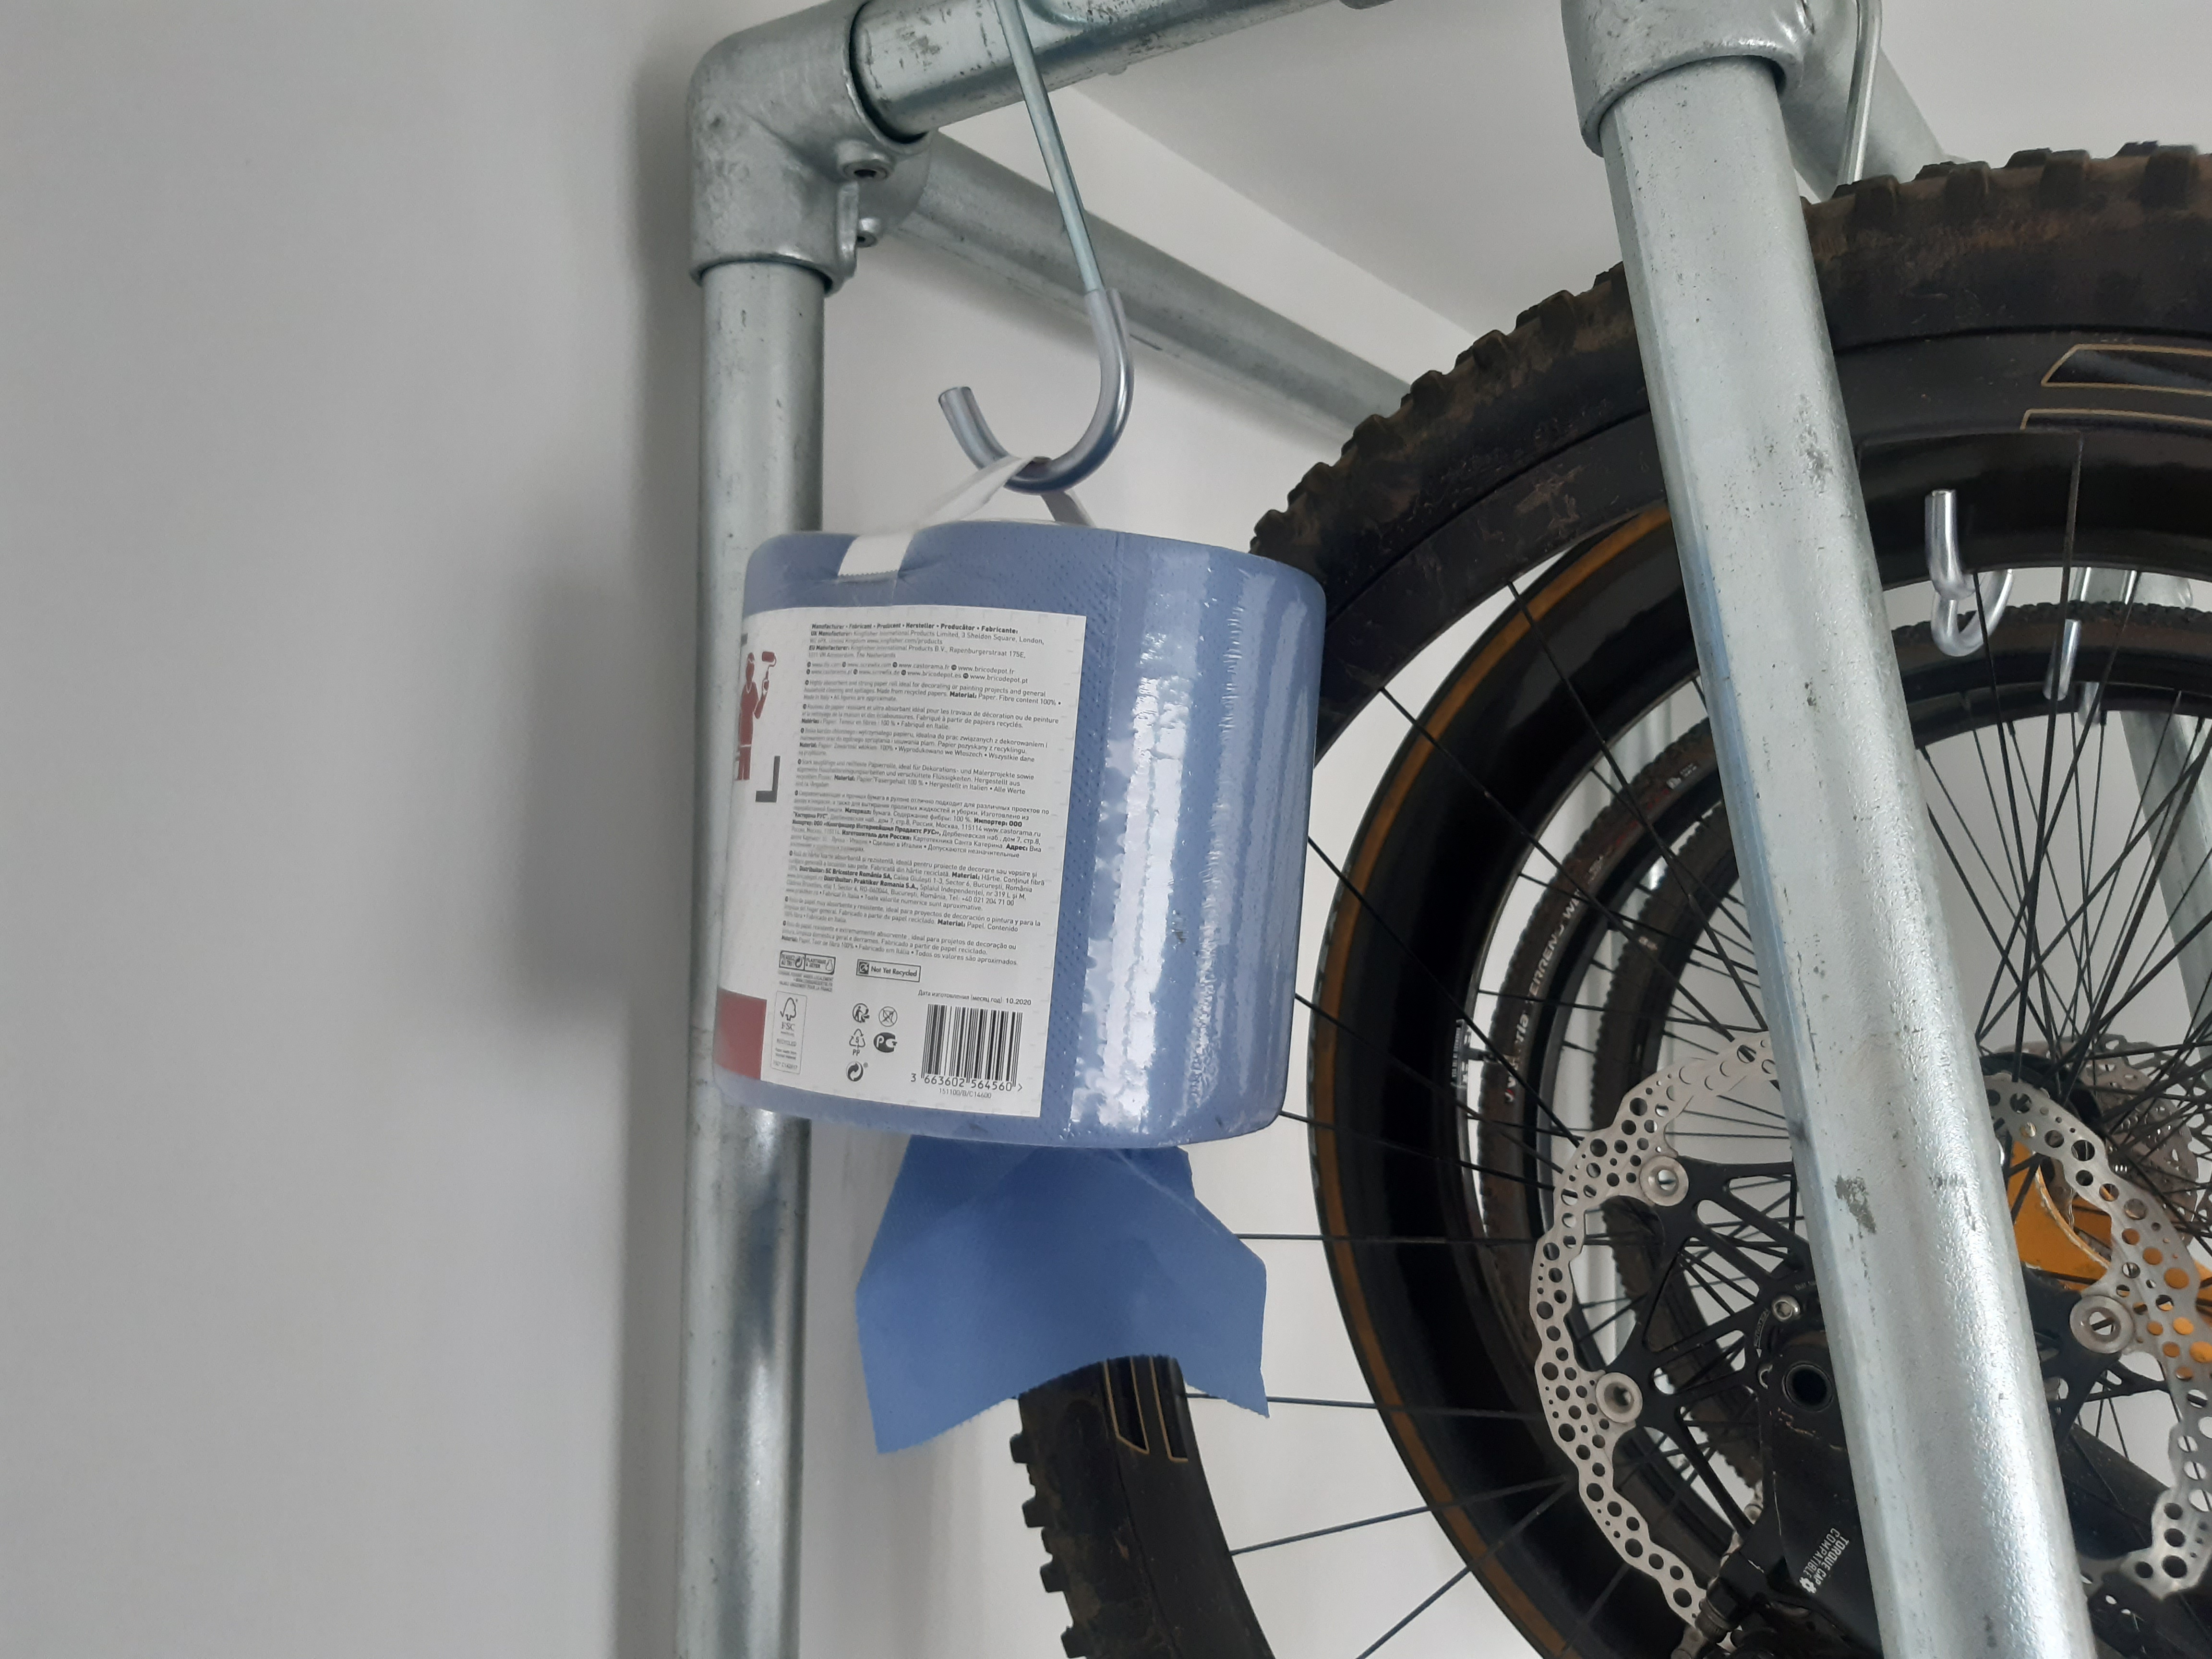
We’ve used 48mm diameter rail to make this super sturdy, but if you’ve making a smaller rack or just hanging road bikes then 42 or 34mm would work too. All tubing was ordered cut to size from www.keyclampstore.com, and the hooks are from Kestrel Cycle Stands. These hooks seem a bit spendy for what they are, but I’ve struggled to find an alternative elsewhere, and they are very strong and well shaped. All in this rack cost around £250 to make.
Having used the rack for around a year we couldn’t be happier with it. I wish I’d put a smaller version together years ago when I was cramming bikes into a flat and having to play a game of Bike Tetris every time I wanted to ride what was at the back of the pile.
The versatility of Key Clamps means you could very easily add little shelves, hooks to hang helmets on, or whatever else you can dream up.
If you’ve got any suggestions on improvements to this design or would like any additional information about it then feel free to get in touch.

Leave a comment